Upgrading the LiveNX Client for Mac
1. Download the LiveNX Client Installers that matches the LiveNX Server’s version. See LiveAction Downloads Page for instructions on how to display the LiveNX Client Installers.
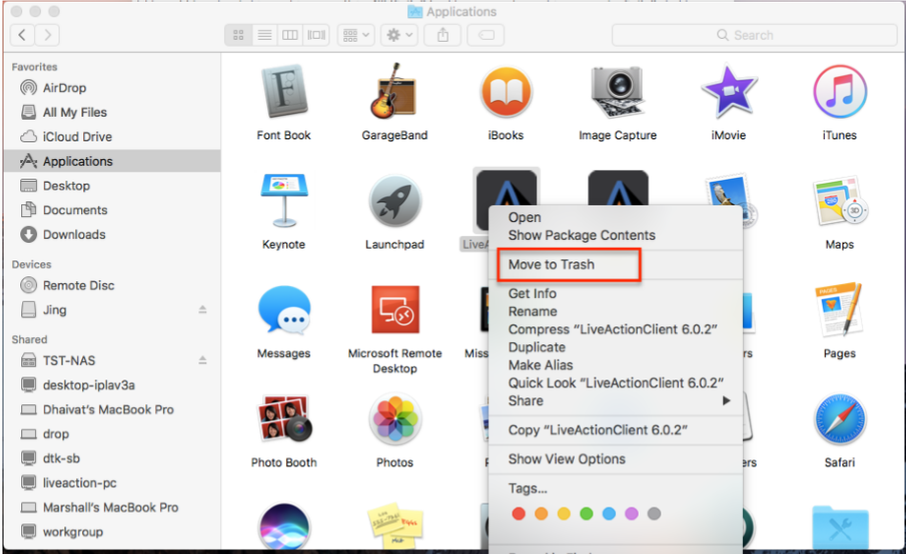
2. Uninstall the former Client by right-clicking on the LiveNX Client and selecting .
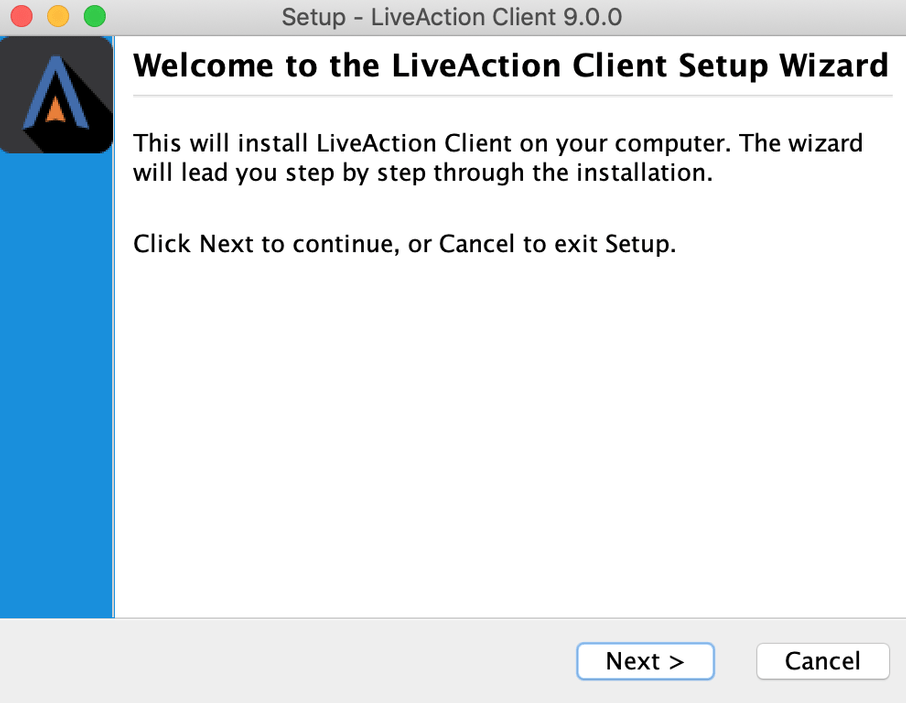
3. Run the executable file of the client you downloaded in Step 1 and follow the installation wizard:
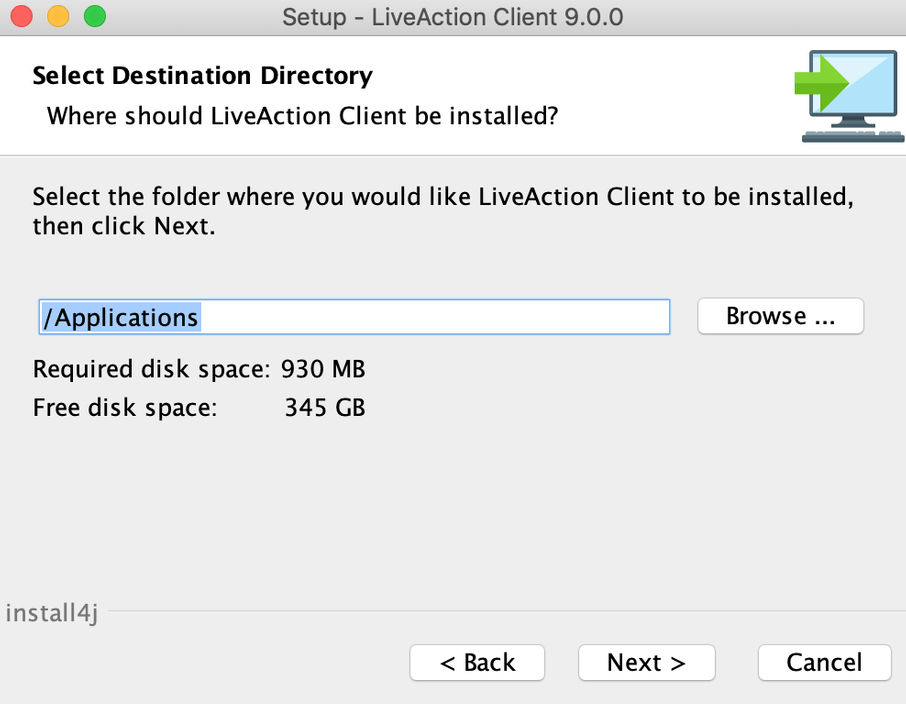
4. Proceed to the Select Destination Directory page with the recommended default file location. Then click .
5. Click on the Client setup, then accept the creation of a desktop icon if desired.
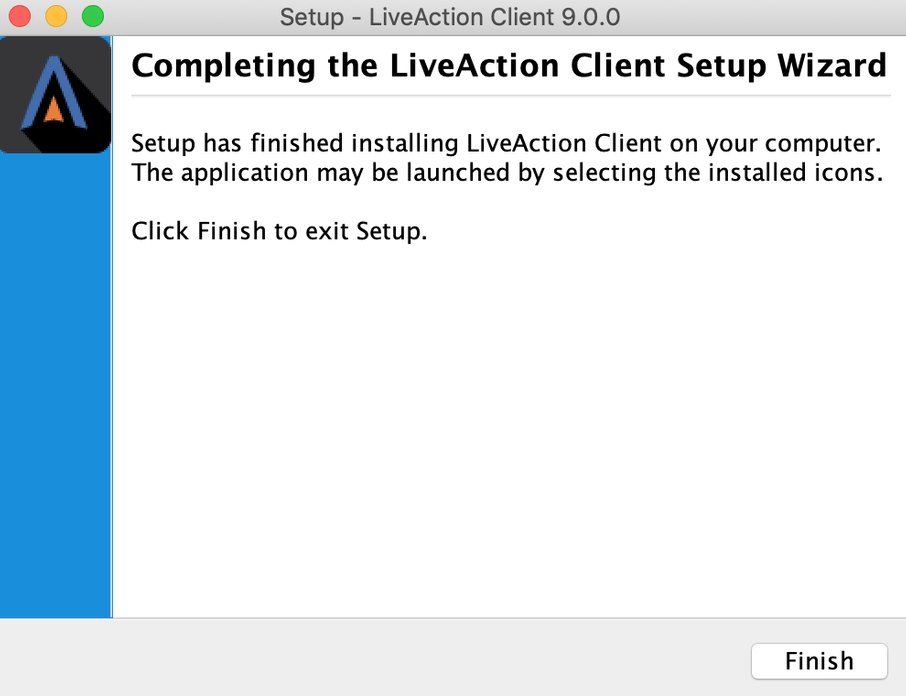
6. The Client setup will begin its install procedure. Once completed, click .
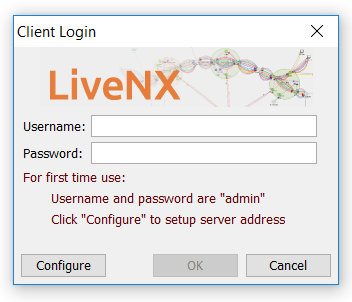
7. When the installer completes, run the Client and login using your credentials.